
I remember an episode of Great British Bake-off where Paul Hollywood set the bakers a braiding task – if I remember rightly it was an 8-braid loaf. It seemed to me one of those tasks set to show competitors struggling (which makes good TV. Apparently.) and of course to provide Paul with the chance to show off how easy it is for him. I rather like the rustic and traditional look of a braided loaf, so I thought I’d give it a try. I was quite pleased with the result, so I can only advise that you get stuck in. Give it a go!
Essentially a braided loaf is different from a normal loaf only in the shaping. I used the dough I use for my normal daily loaf:
Ingredients:
560g white flour 392g tepid water 7g salt 7g dried yeast/10g fresh
Mix the ingredients (I usually pour a little water on the salt in a separate container, and add a minute or so after I’ve started mixing the rest and before I turn it out on my worktop to knead. It seems to prevent any salt-yeast problems).
After the initial kneading, set aside to prove for about an hour.
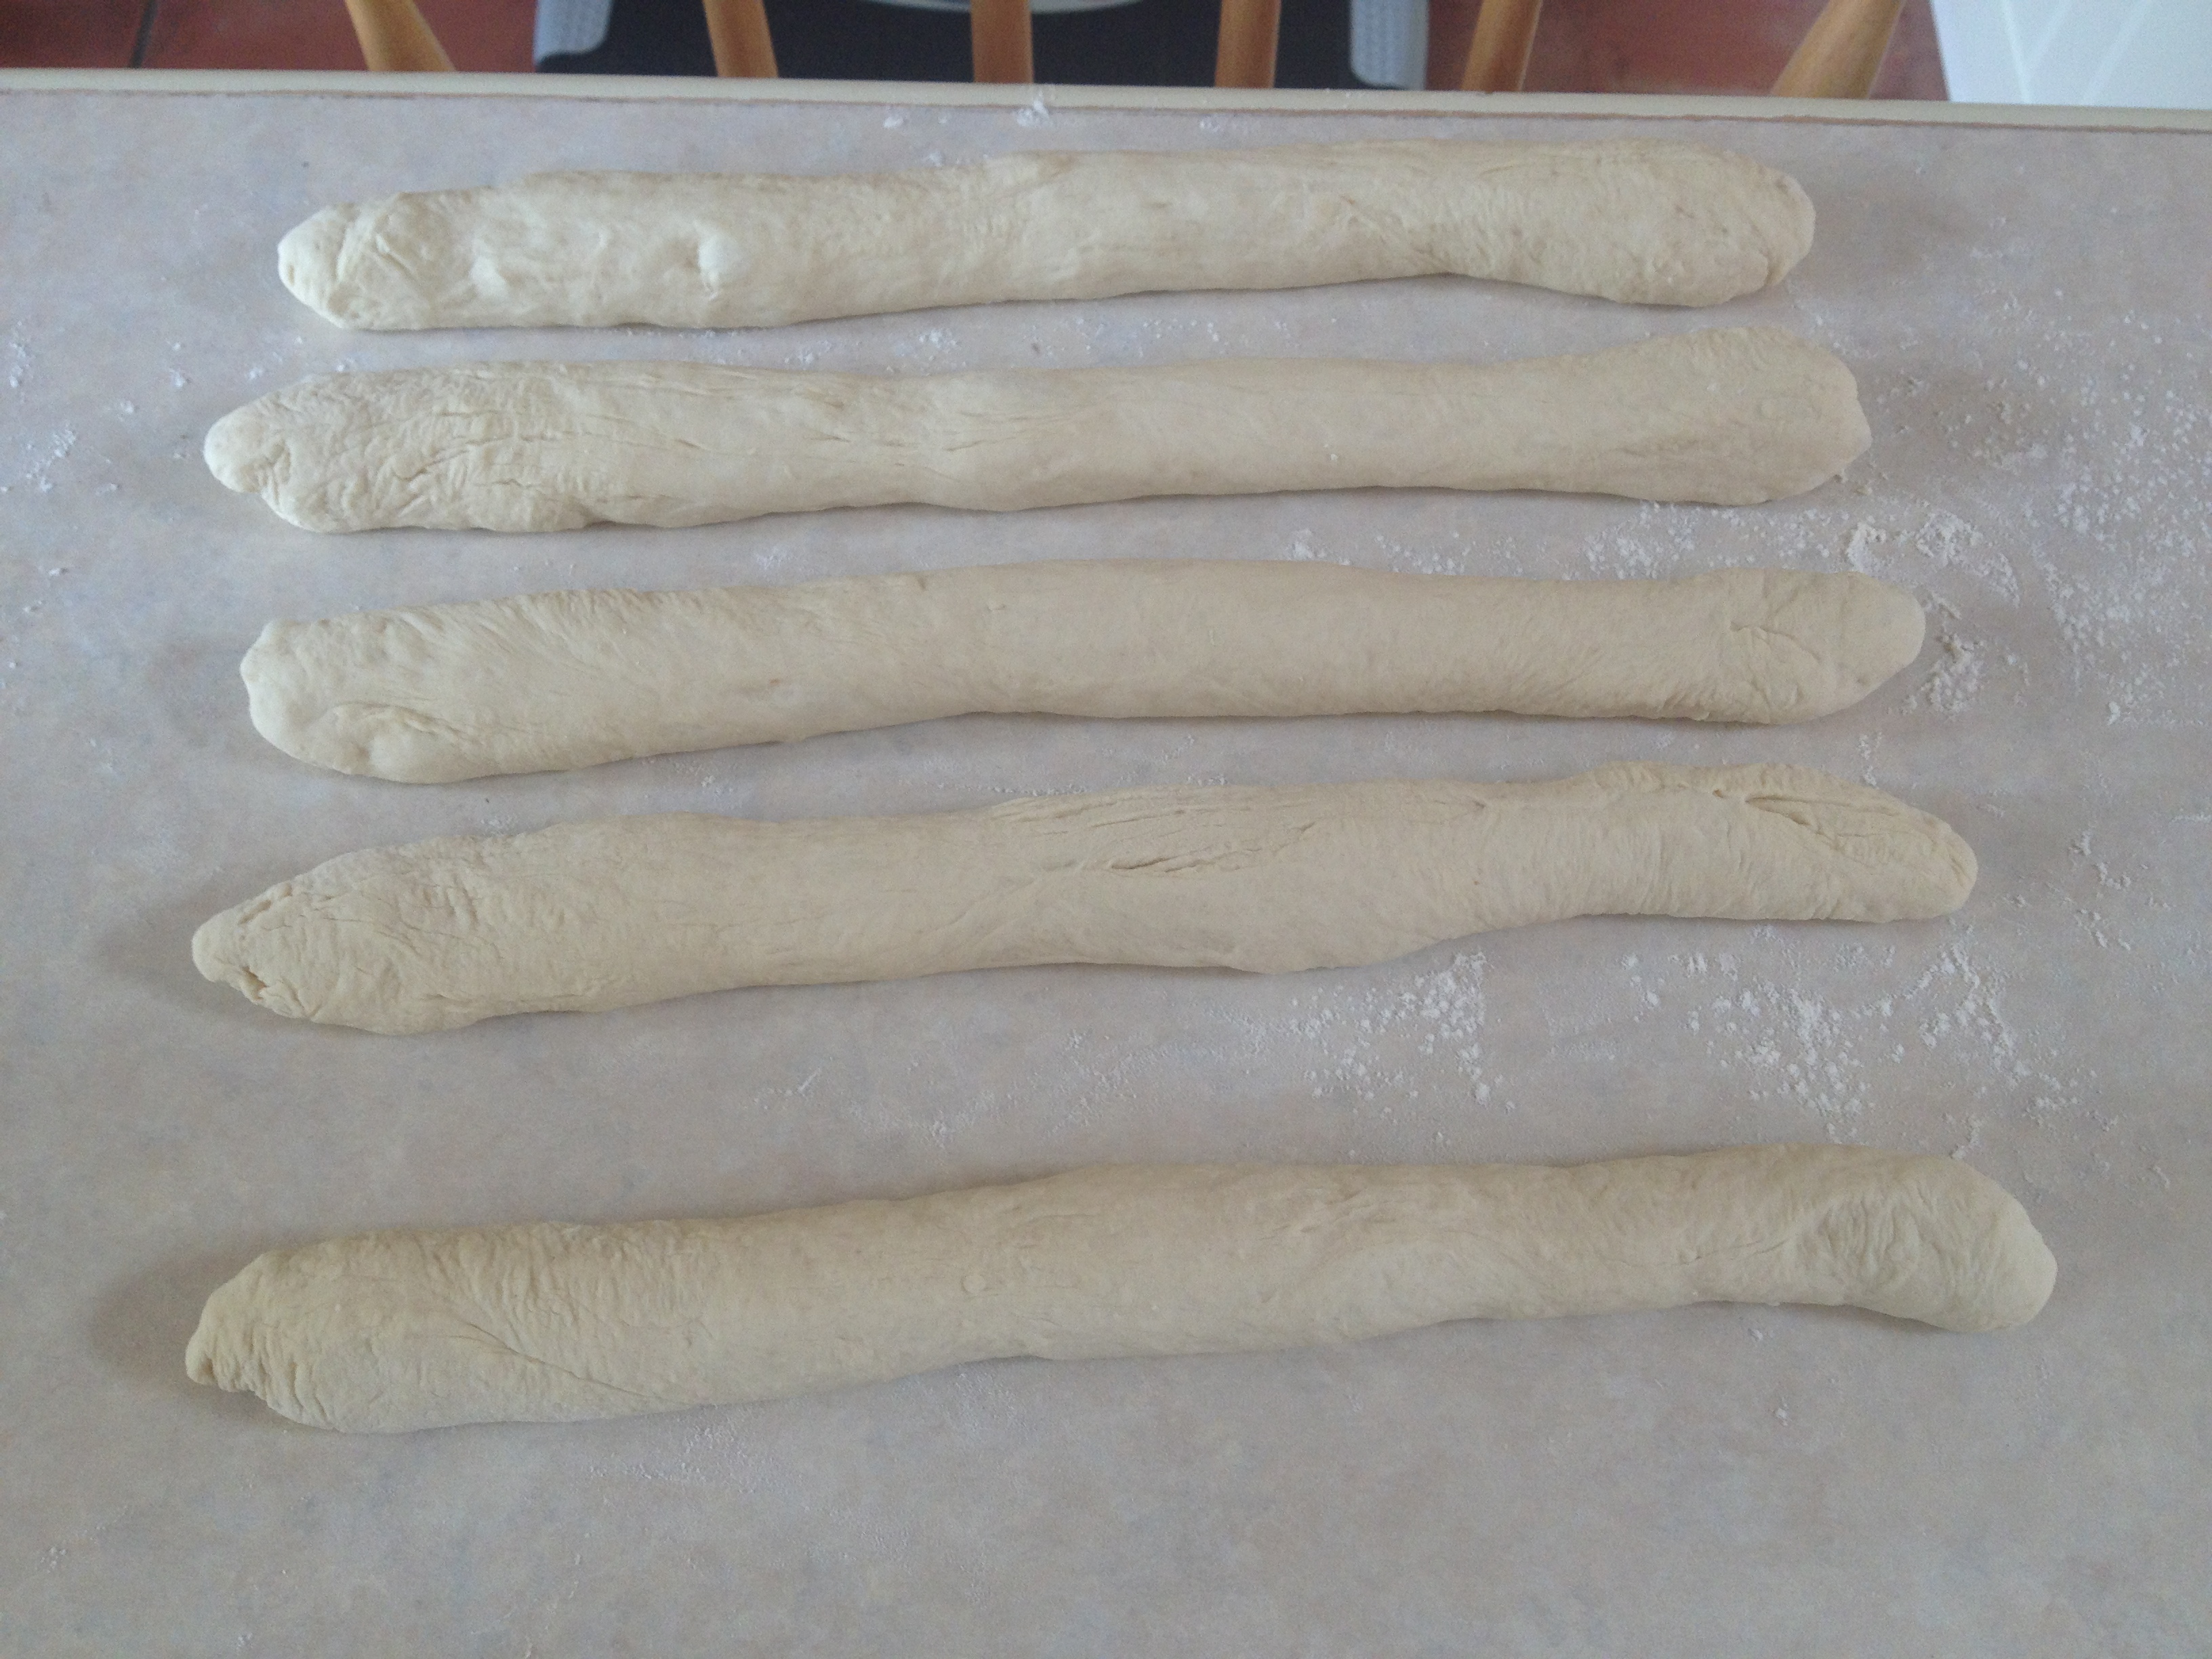
Turn out the dough onto a lightly floured surface and divide it into 5. Roll out the pieces to the same length and thickness. This is the biggest challenge of the project (so really you have nothing to fear!).

If the braided bread is going to look as well as possible, it’s important that you roll out 5 equal length and width pieces. I found weighing out 5 pieces than rolling all of them to about the right length and then spending a few moments getting them as equal as possible useful. Here, as in so much of life, practice can’t do any harm and as you can see, I’ve not yet had much practice!
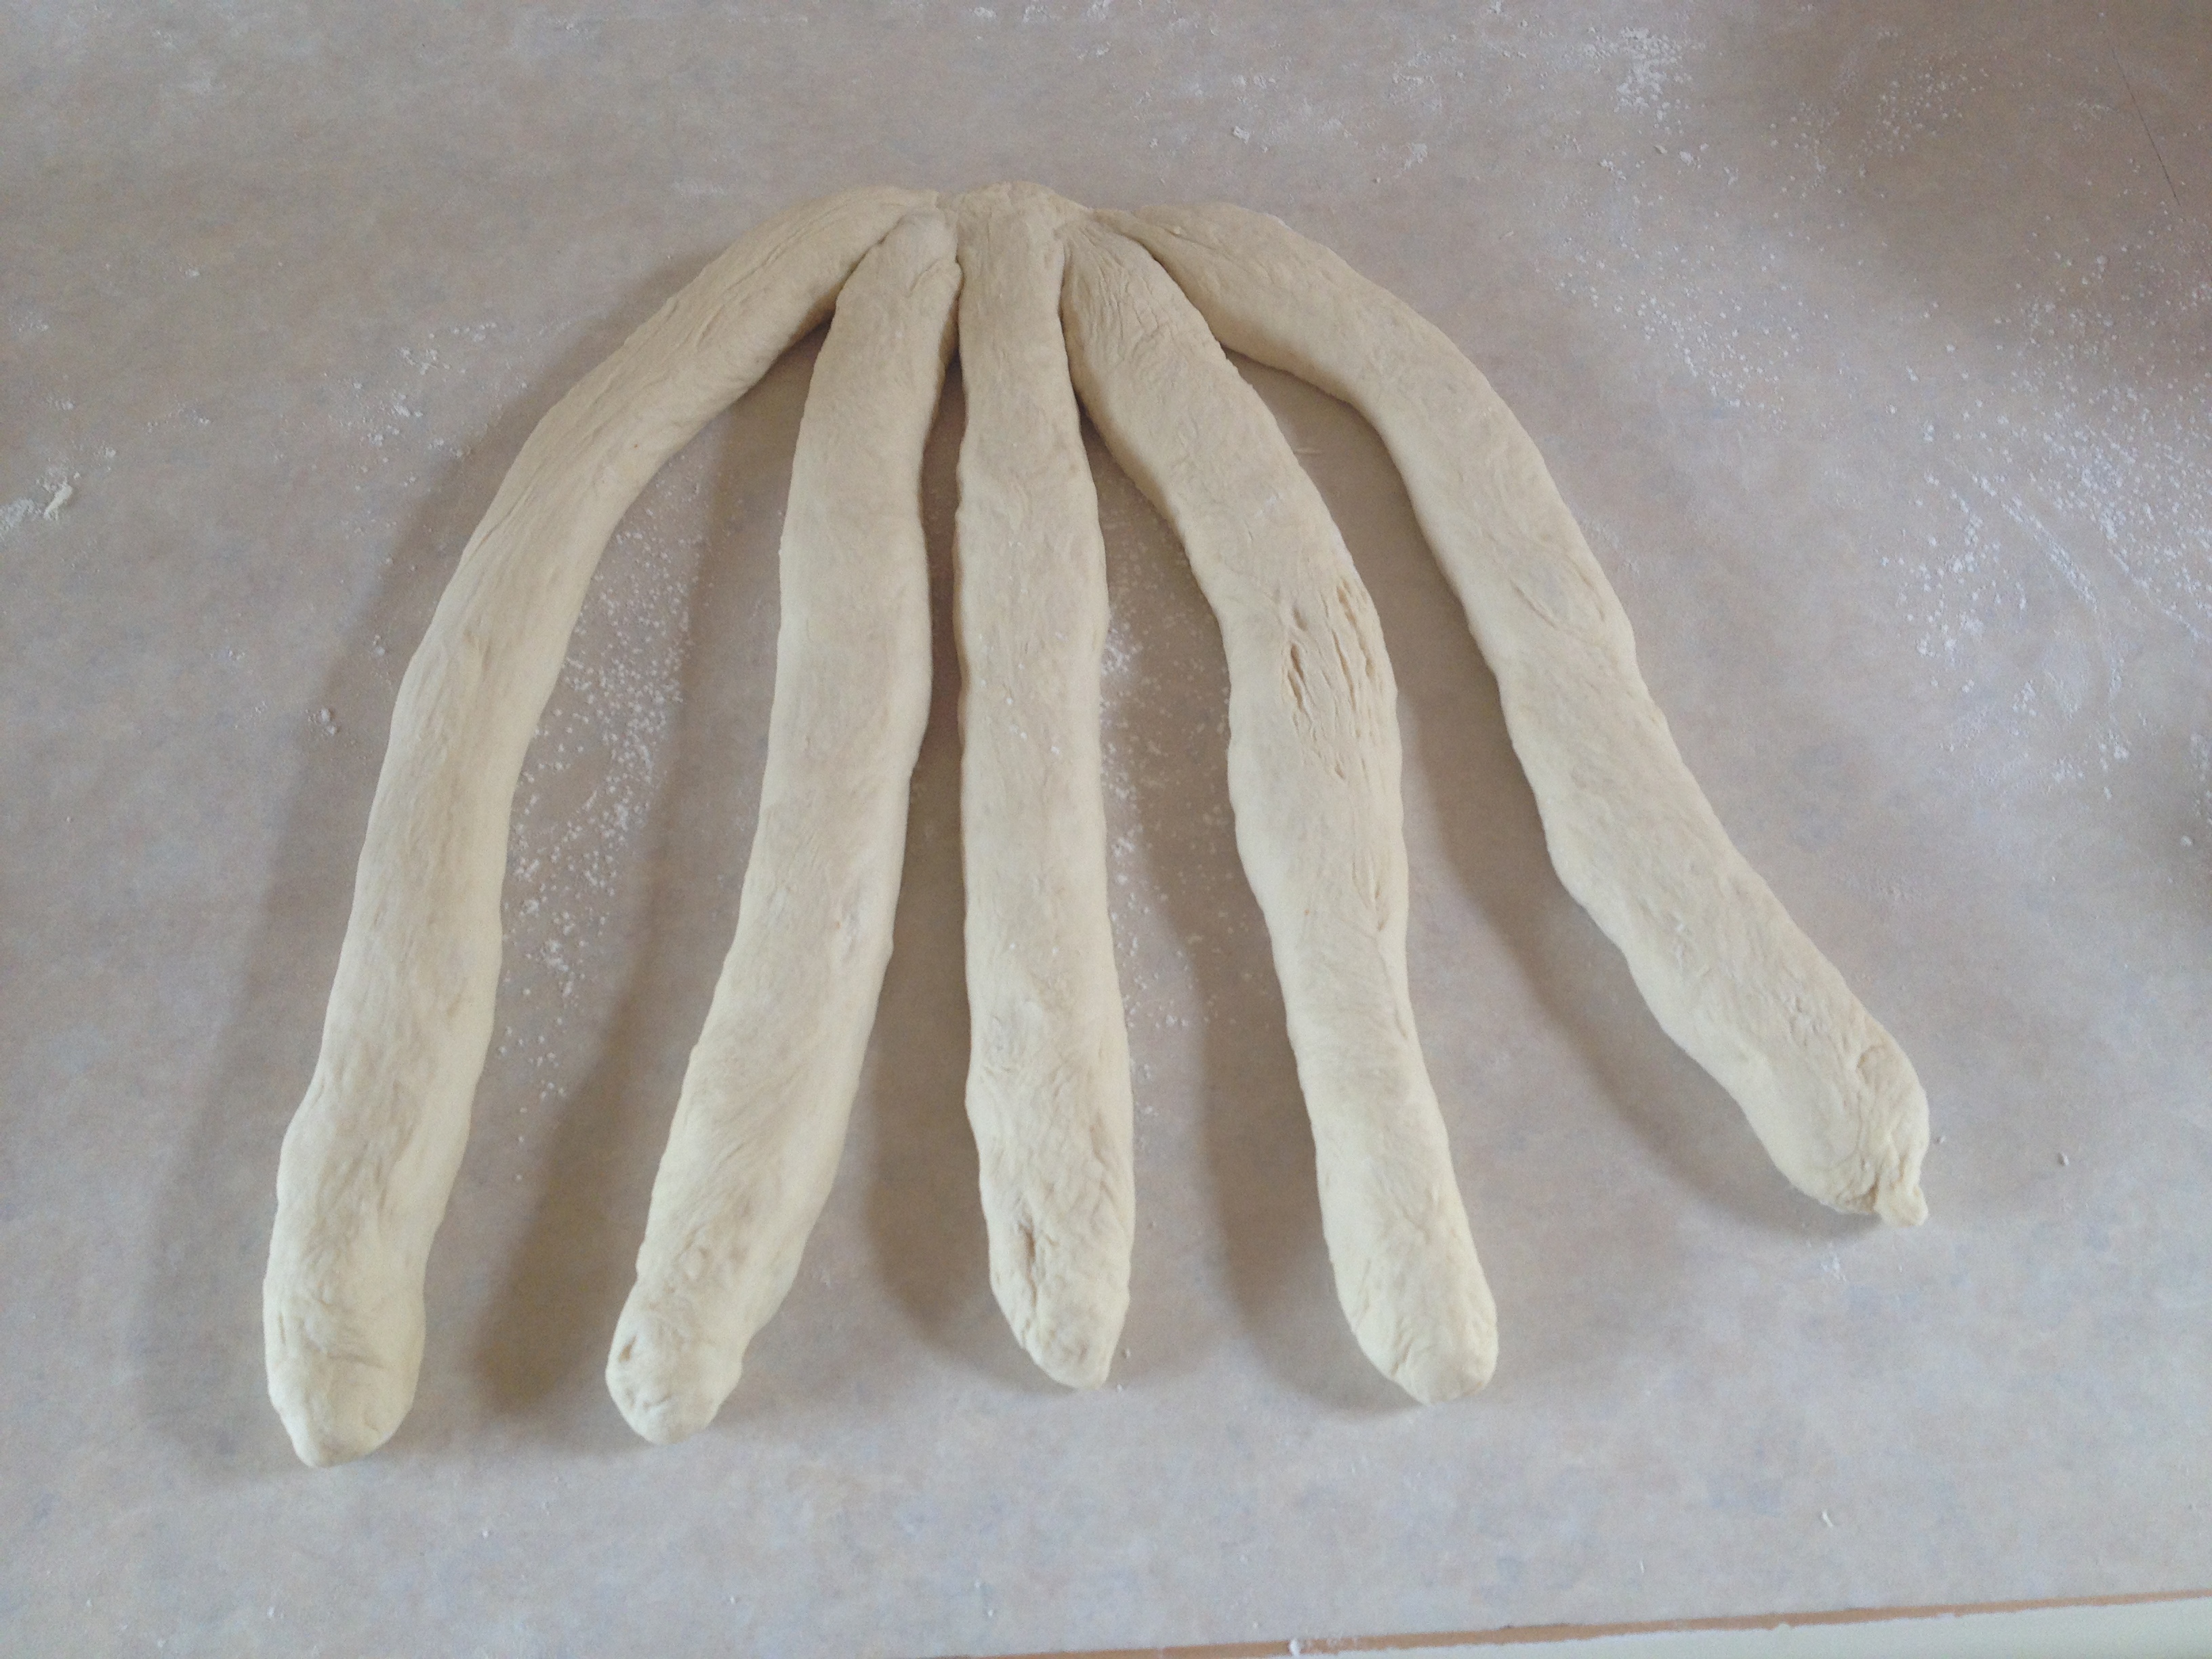
 Your next step is to braid your loaf. Start by laying the pieces lengthways away from you and joining them together at the point furthest from you.
Then, what you’re essentially going for is two sets of three braids – which means that you will always be braiding one piece that you just braided. Start with the 3 pieces on the right. You can even put them as a group to the right if you like to help remind you of what you’re doing. Taking the piece on the far right, put it in the middle of the set. The far left braid (that is, the furthest left of these first 3!) goes into the middle. So it’s basically outside in, outside in, focusing on those first 3 pieces and starting at the outside.

As you can see above, you then have a braid on the right and if you adjust the pieces to the left in a group of three, you can see what I mean about sets of 3. You then repeat the steps outside in, outside in but starting this time from the left.
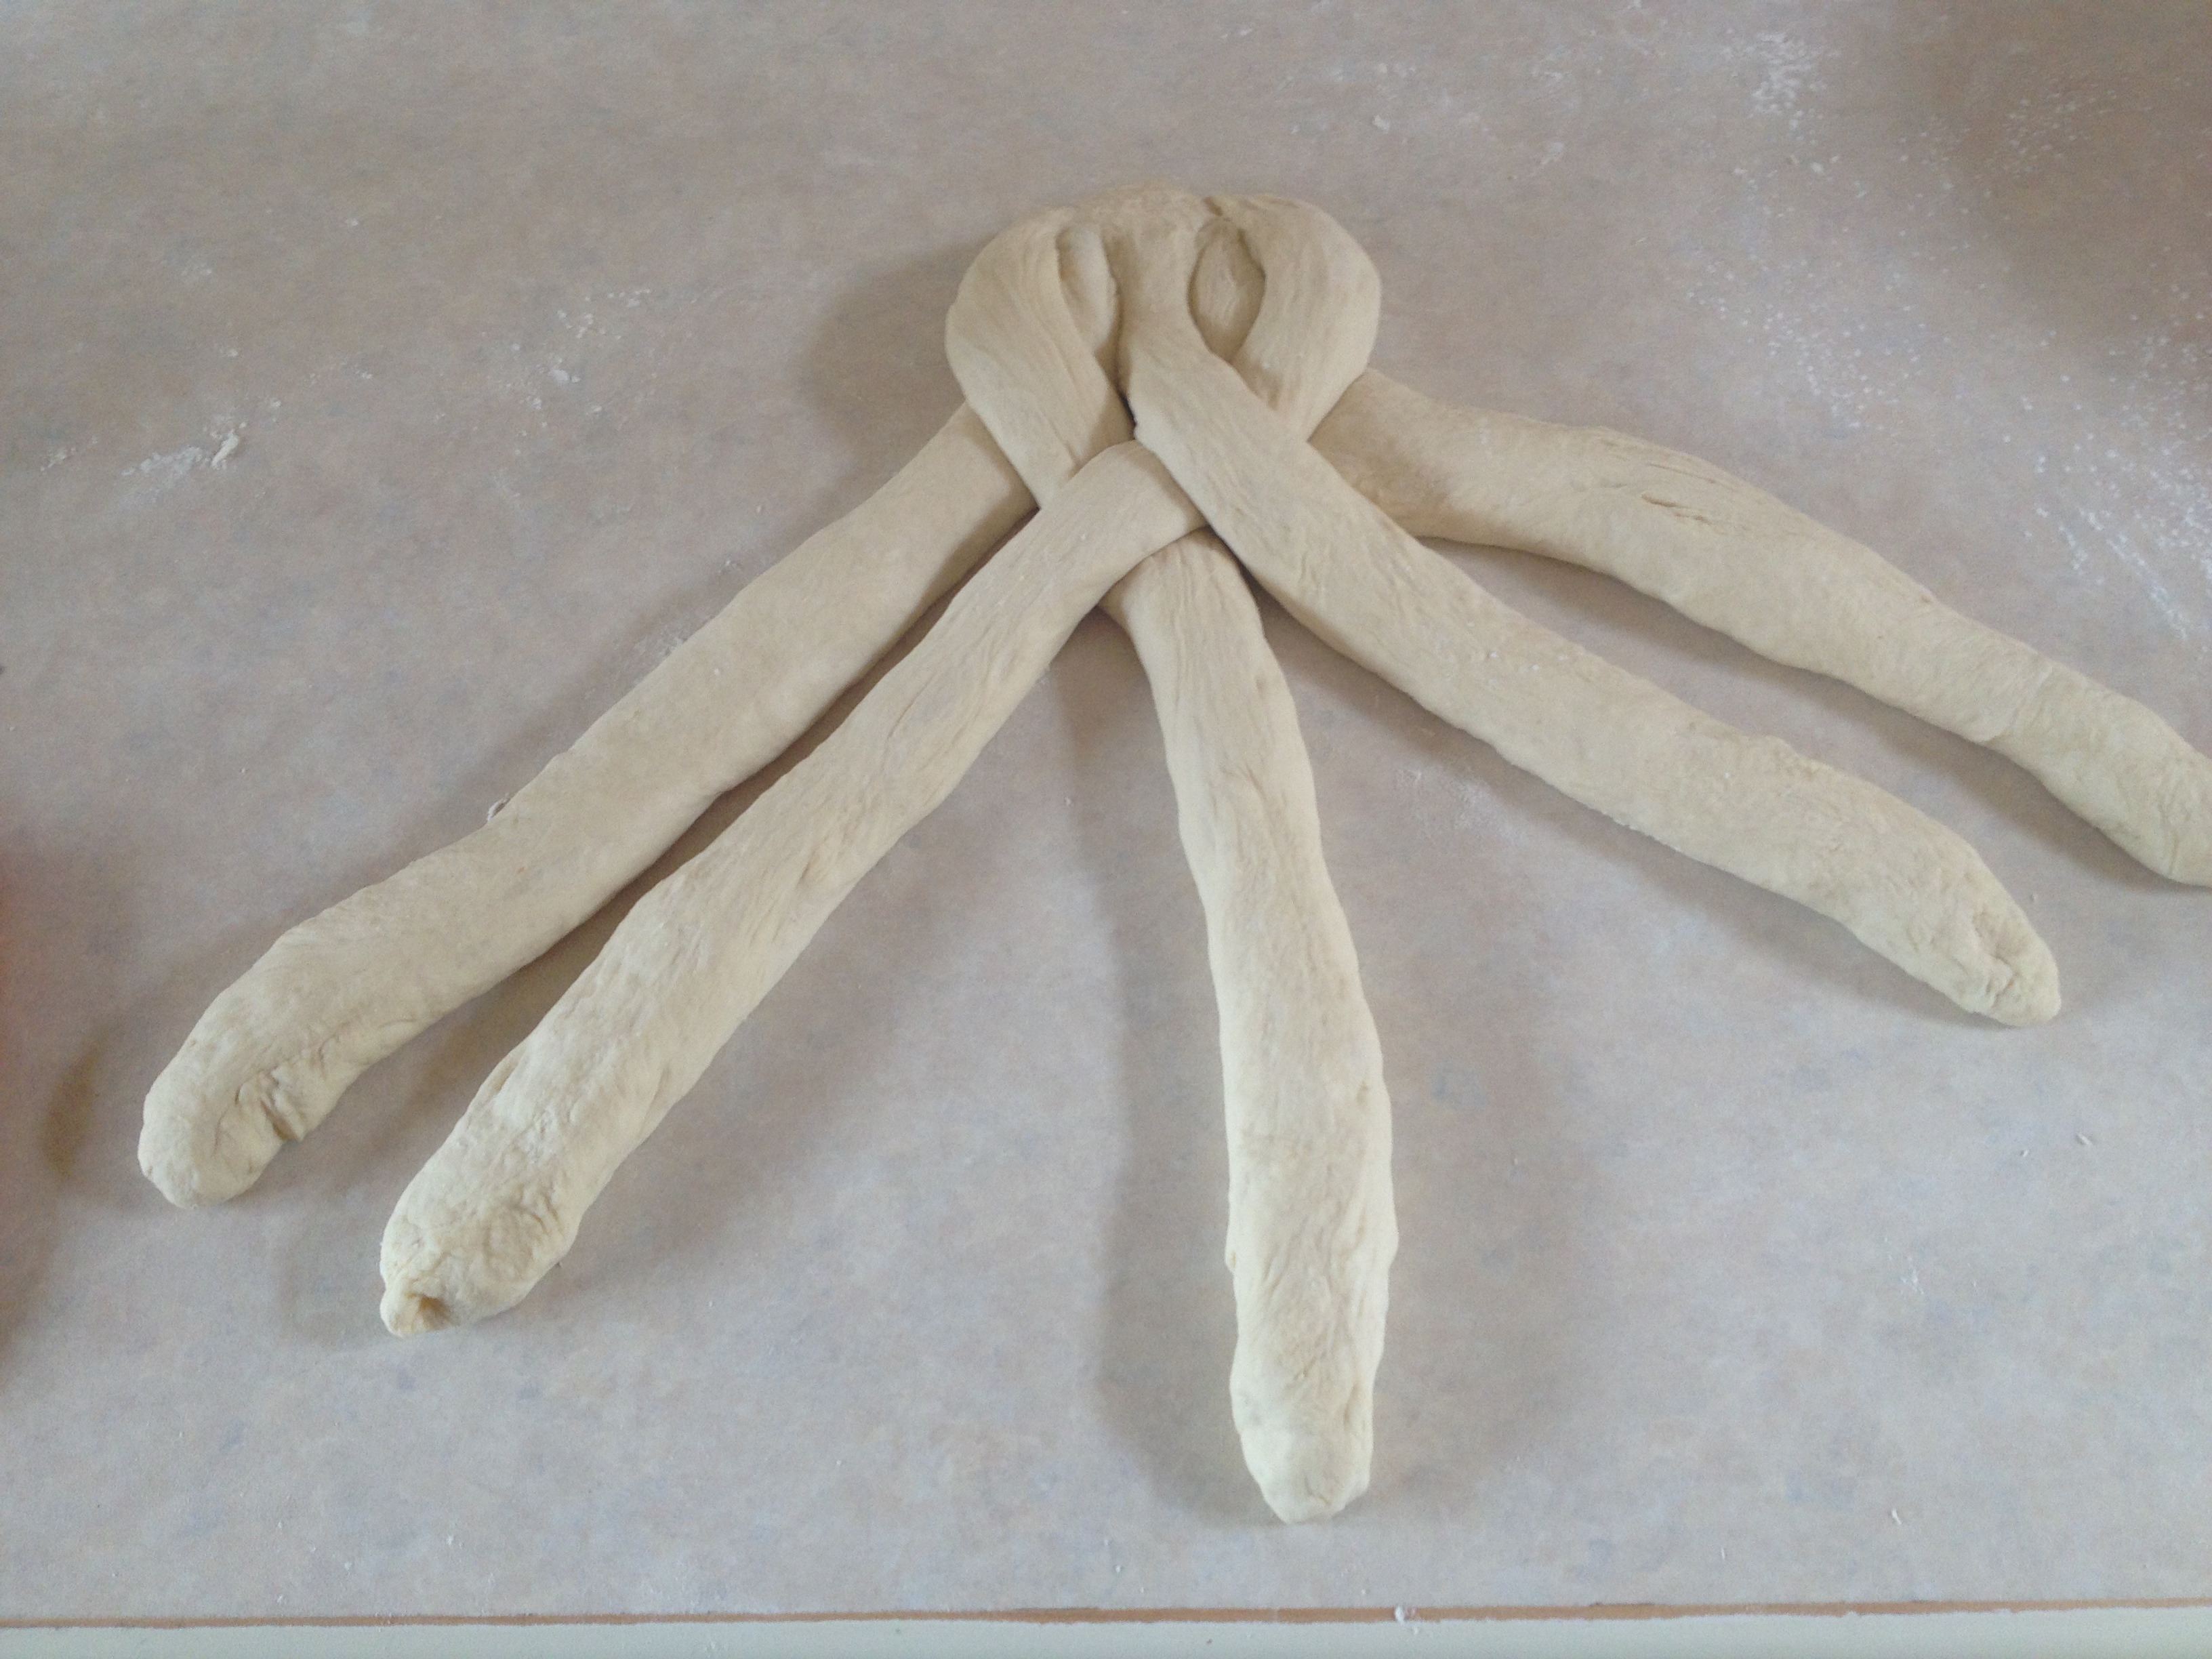 You just keep doing that with groups of 3, alternating right, left, and work your way down the loaf.
 Eventually you end up with a fully braided loaf. Once you have the technique off to a pat, it doesn’t take long. I suspect every woman reading this will find my explanation of braiding a bit simple and will have no problem. To the guys who try this , you’re possibly as new to braiding as I was, so I hope you find it useful! If you were a guy with a braid back in the day – well, maybe you’ve lost your hair now and can relive old methods!!

Having braidedd your loaf, it may respond well to a little pulling and shaping the overall loaf – as you can see mine ended up a little wider at one end. But hey, we’re making an artisan loaf here – not some factory perfection! Prove another hour.
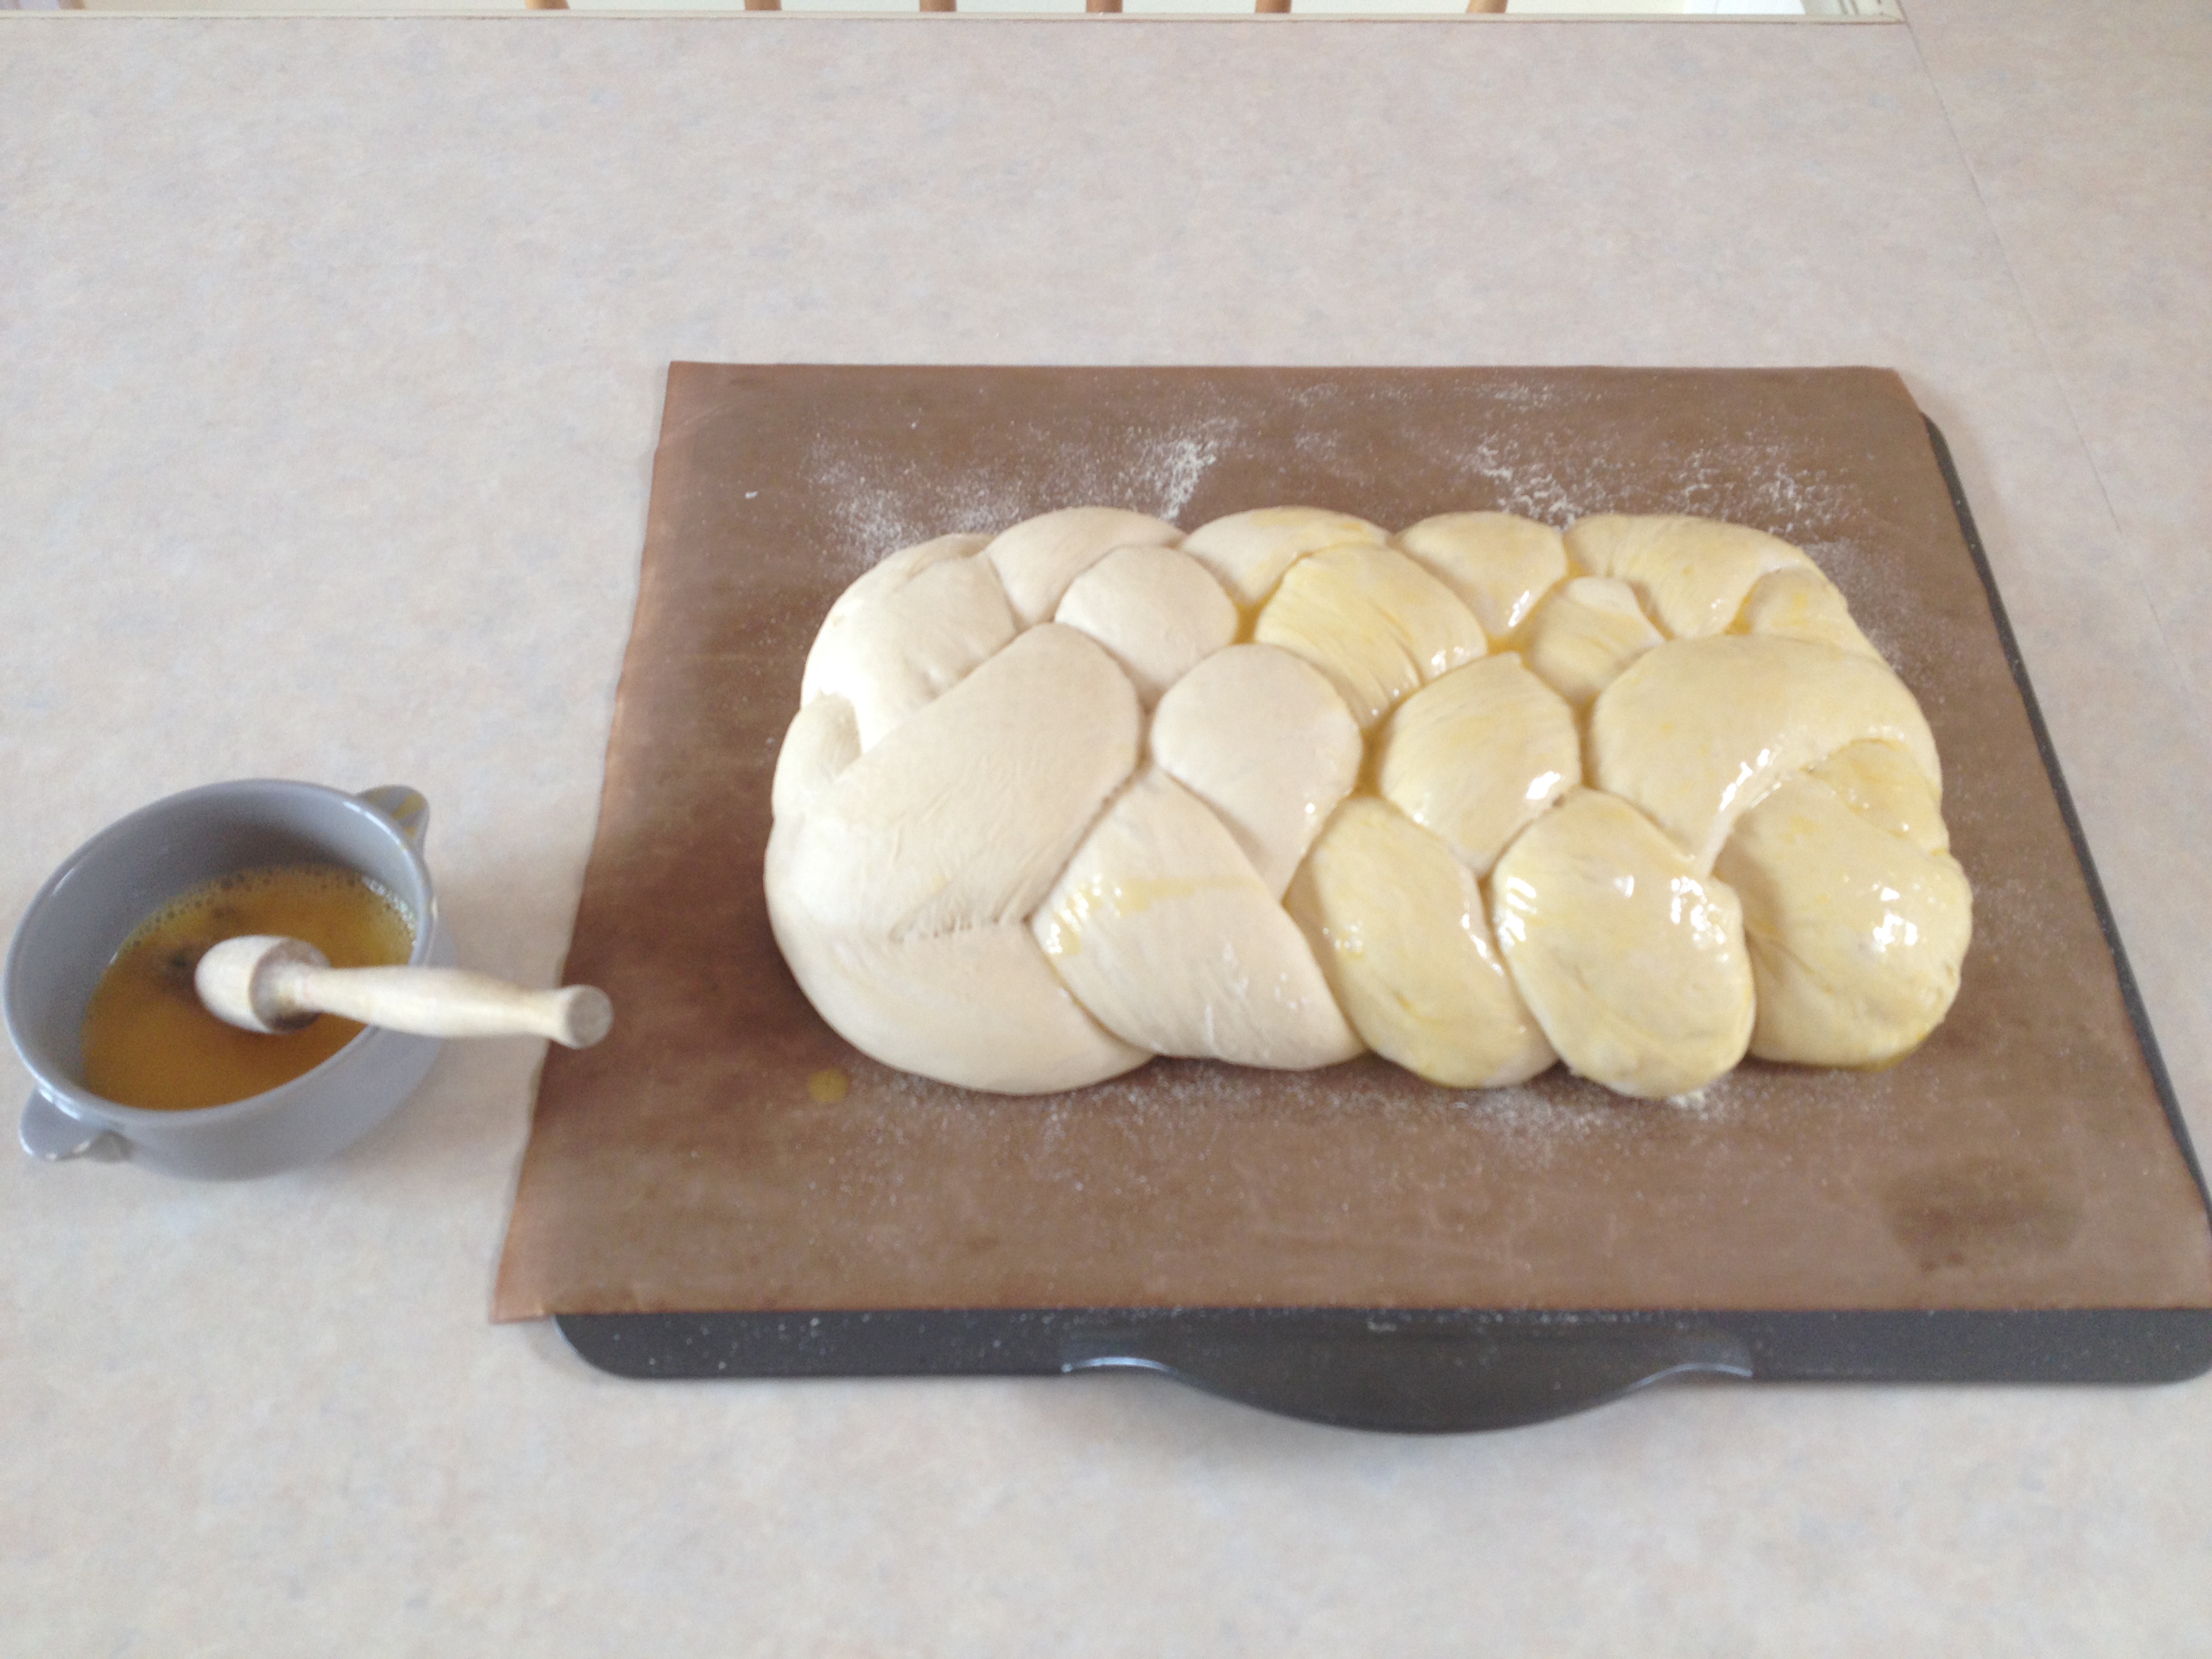
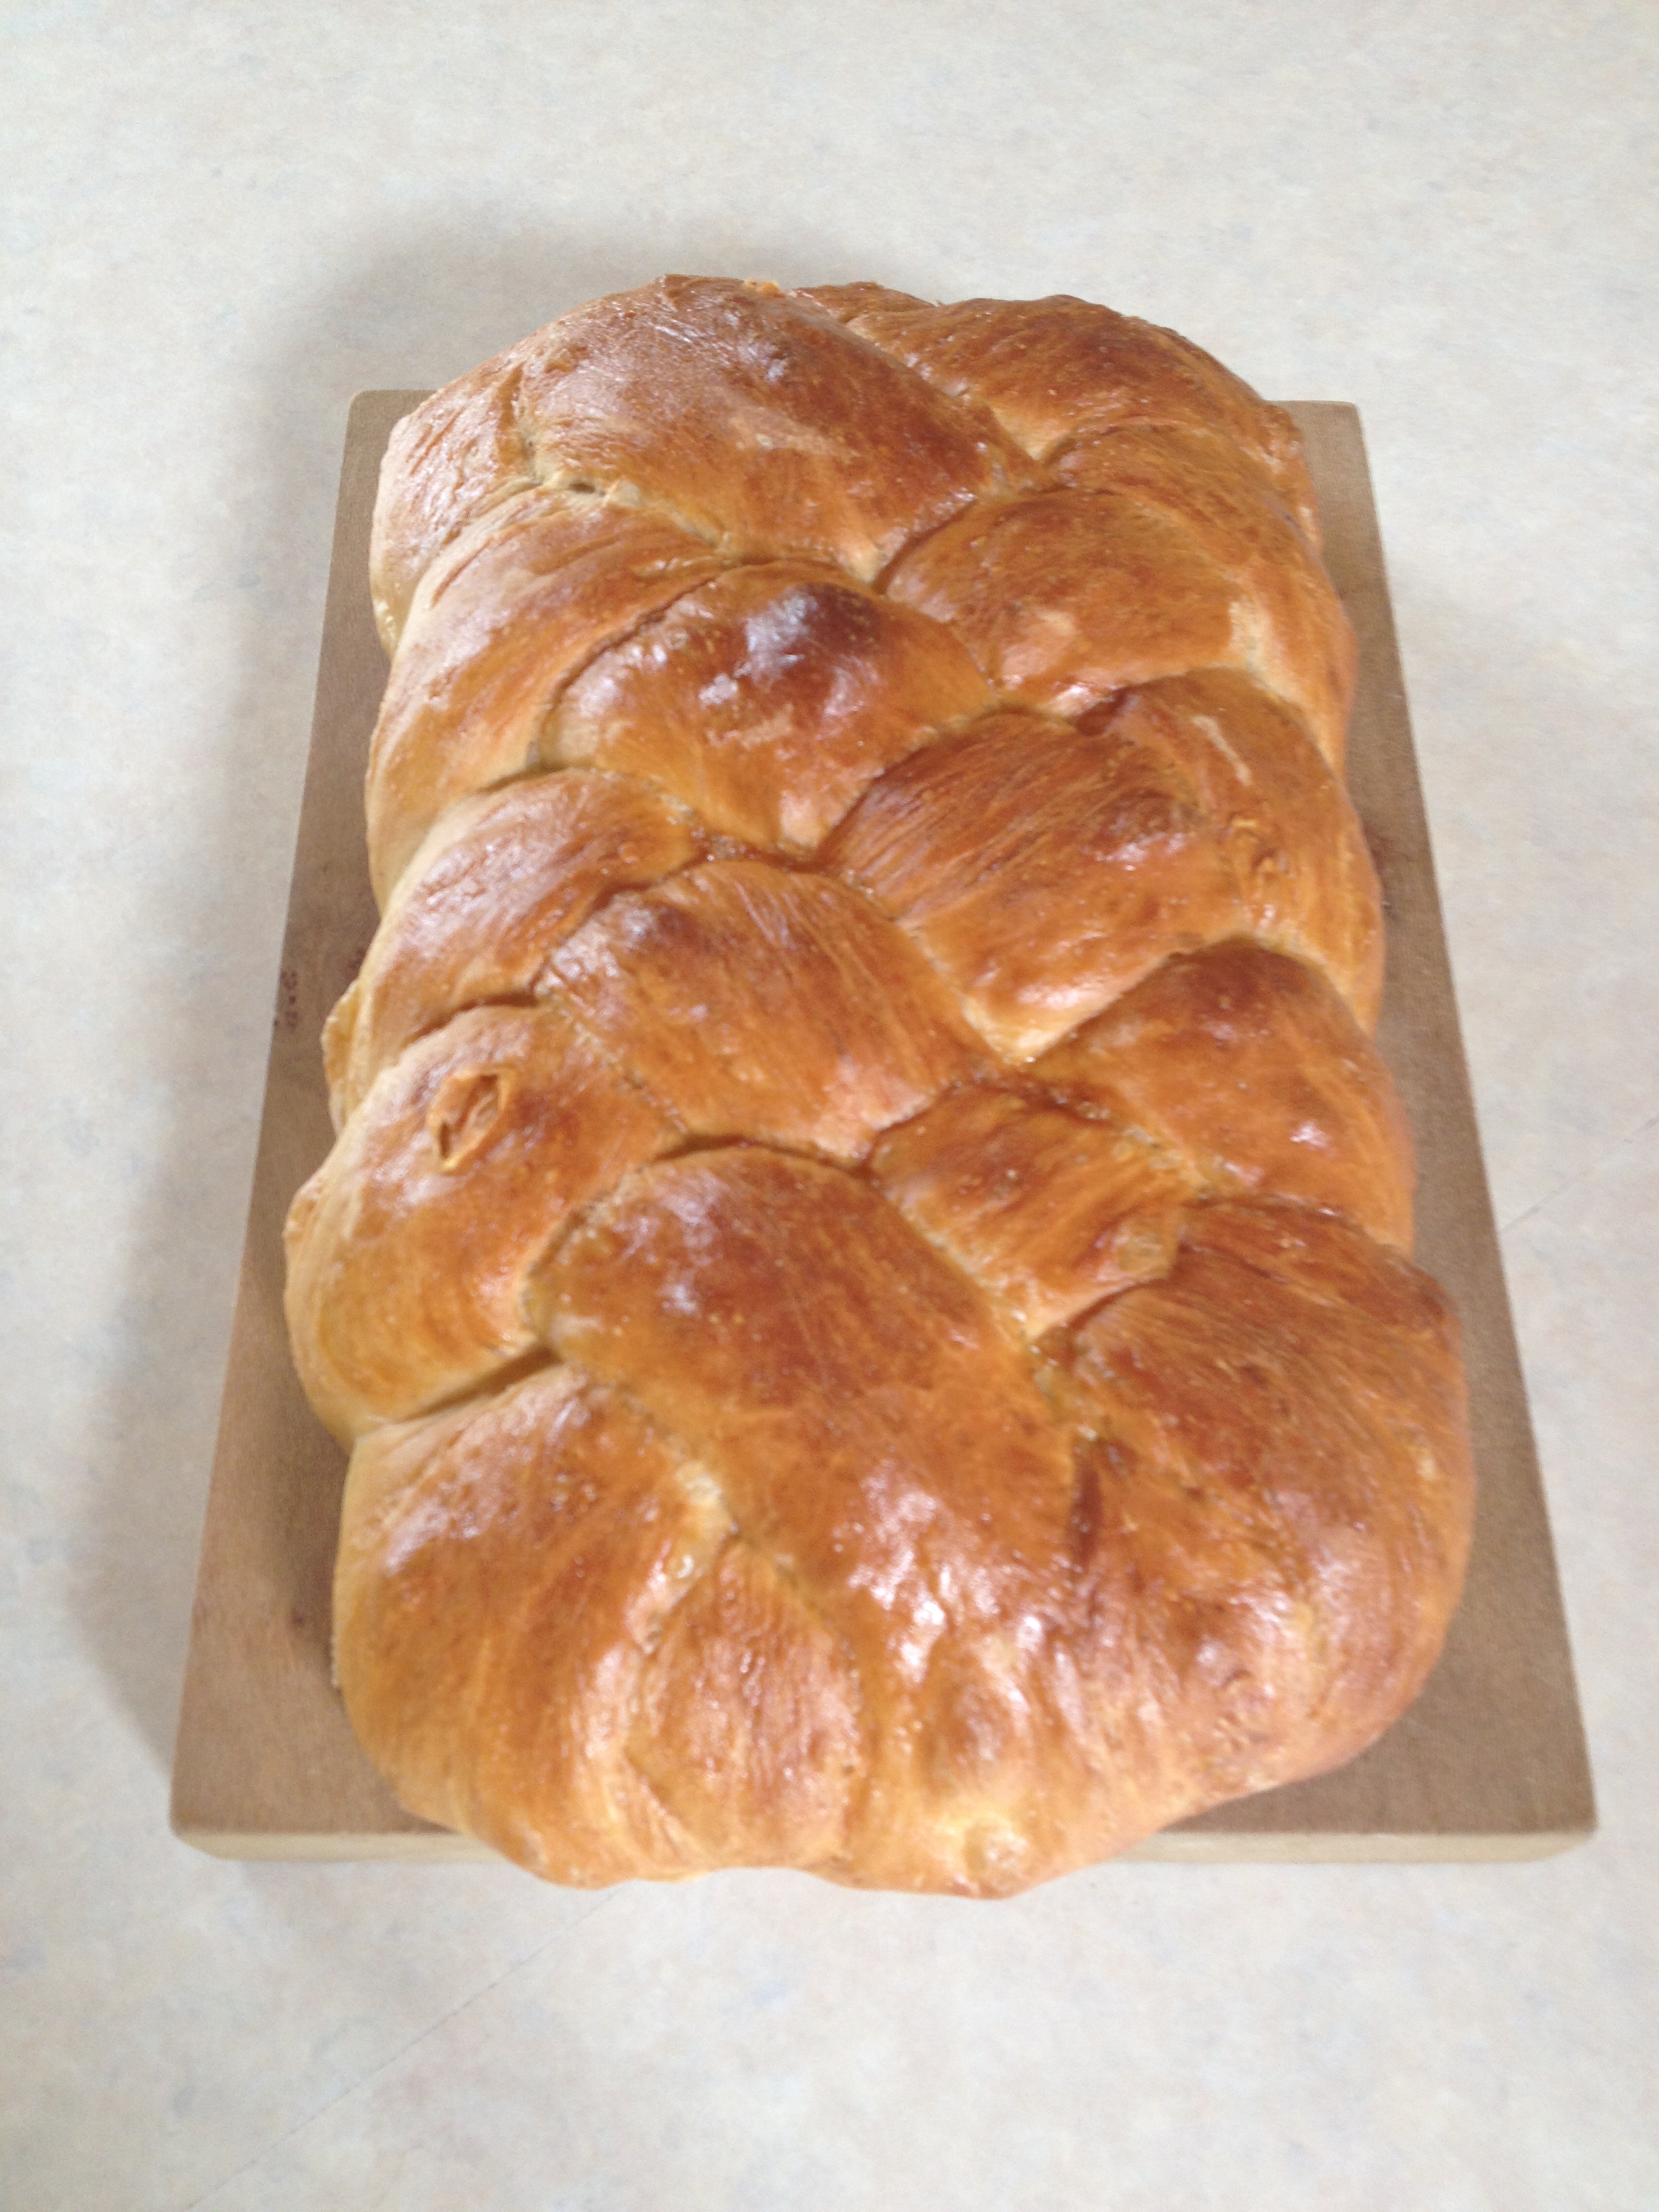
When your final proof is done, beat a small egg and wash the loaf. Bake as per usual for about 30-35 mins.
Ta-da!!
 I’ve made this a few times since. It gets a reaction way beyond the difficulty (a bit like Fougasse). In short, well worth a try. I may even have a go at an 8-braider. Or as I should say, do a Hollywood.
Enjoy!
